Youth football conditioning is essential for improving agility, speed, strength, and endurance in young athletes. It enhances performance, reduces injury risks, and builds mental resilience through structured drills and exercises.
1.1 Importance of Conditioning in Youth Football
Conditioning is vital for young football players to enhance physical performance, reduce injury risks, and improve mental resilience. It helps develop agility, speed, strength, and endurance, enabling athletes to excel on the field. Structured drills and exercises prepare players for the demands of the game, fostering teamwork and discipline. Proper conditioning also promotes long-term athletic development, ensuring young players build a solid foundation for future success in football.
- Improves physical skills like speed and endurance.
- Reduces injury risks through strength and flexibility.
- Enhances mental toughness and focus.
- Supports overall athletic development.
1.2 Benefits of Structured Drills for Young Athletes
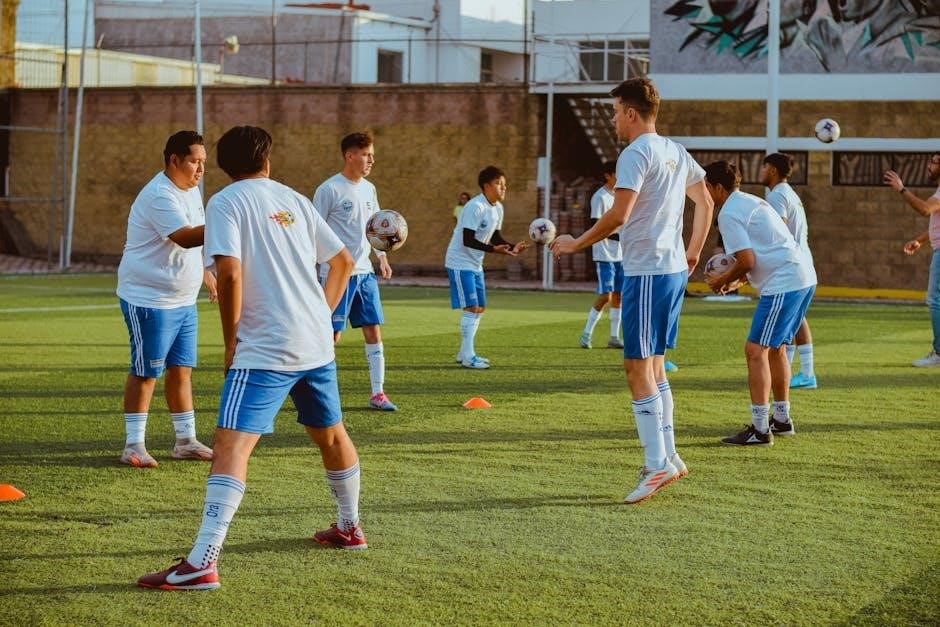
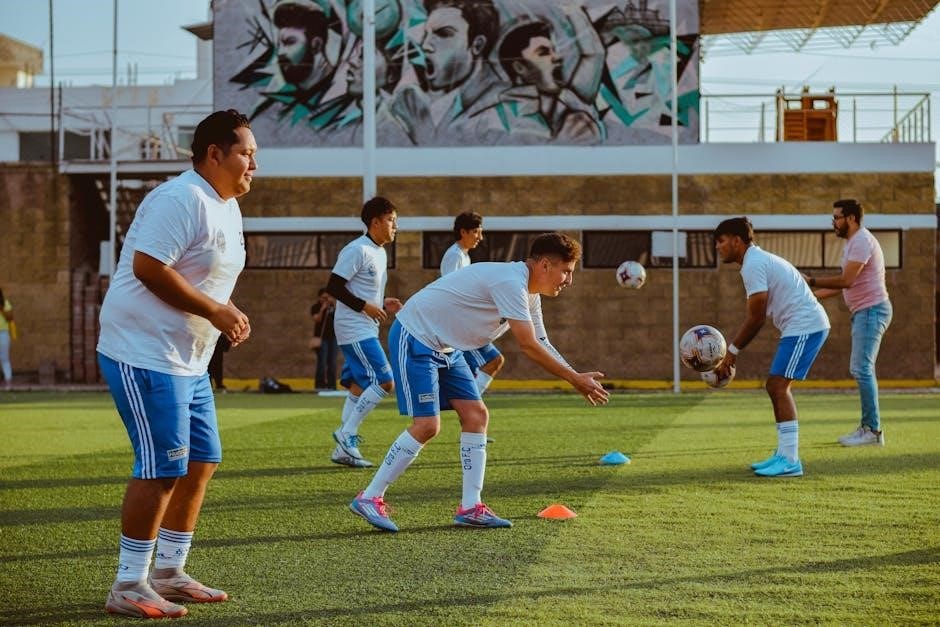
Structured drills offer numerous benefits for young football players, including improved agility, coordination, and overall physical fitness. These exercises enhance speed, endurance, and strength, while also fostering mental focus and resilience. Drills promote teamwork, discipline, and proper technique, reducing the risk of injuries. They also allow coaches to identify and address individual needs, helping players develop fundamental skills in a controlled environment. This structured approach ensures consistent progress and prepares young athletes for the challenges of competitive football.
- Enhances agility and coordination.
- Improves speed, endurance, and strength.
- Develops mental focus and resilience;
- Encourages teamwork and discipline.

Types of Conditioning Drills
Youth football conditioning involves agility drills with cones, speed exercises like sprints, strength training with bodyweight, and endurance activities like long runs, enhancing performance and reducing injury risks.
- Agility drills for quick movements.
- Speed exercises to boost acceleration.
- Strength training for muscle development.
- Endurance activities for stamina building.
2.1 Agility Drills
Agility drills are designed to enhance quickness, balance, and coordination in young football players. These exercises often involve cone setups, ladder runs, and zig-zag patterns that challenge directional changes. For example, the Pro Agility Drill involves sprinting, cutting, and rapid reversals. Players weave through cones oradders, improving foot speed and reaction time. Shuttle runs and figure-eight drills also test acceleration and deceleration. These exercises are fundamental for developing the ability to change direction explosively, a critical skill for evading opponents on the field. They are typically short, high-intensity bursts with minimal rest periods.
2.2 Speed and Sprint Drills
Speed and sprint drills are crucial for enhancing young football players’ acceleration, reaction time, and overall explosiveness. These exercises often involve short, intense bursts of running, such as sprinting through cones or performing ladder drills. Shuttle runs and hill sprints are also effective for improving power and endurance. Proper technique, like maintaining a low stance and driving with the legs, is emphasized to maximize speed and reduce injury risk. These drills are essential for developing the explosiveness needed to outpace opponents on the field, making them a cornerstone of youth football conditioning programs.
2.3 Strength Training Exercises
Strength training is vital for building muscular endurance and power in young football players. Bodyweight exercises like push-ups, squats, and lunges are foundational. Resistance bands and medicine balls are also used to enhance strength. These exercises improve overall athleticism and resilience, reducing injury risks. Proper form and technique are emphasized to ensure safe and effective workouts. Strength training helps players excel in tackles, sprints, and game-specific movements, making it a key component of youth football conditioning programs.
2.4 Endurance Building Activities
Endurance building activities are crucial for improving stamina and aerobic capacity in young football players. Drills such as circuit training, jogging, and high knees are effective. Shuttle runs and relay races enhance cardiovascular fitness. These exercises prepare players for sustained effort during matches, boosting overall performance. Endurance training also reduces fatigue, allowing players to maintain intensity throughout the game. Incorporating these activities ensures young athletes develop the stamina needed to excel in football while staying physically conditioned and mentally prepared.
Age-Specific Conditioning Programs
Age-specific conditioning programs tailor exercises to meet the developmental needs of young athletes, ensuring safe and effective progress. Drills are adjusted for 8-10, 11-13, and 14-16-year-olds.
3.1 Drills for 8-10-Year-Olds
Drills for 8-10-year-olds focus on fundamental skills like agility, coordination, and basic strength. Activities include ladder drills for foot speed, cone drills for weaving, and ball control exercises. Dynamic stretches and short sprints improve flexibility and endurance. Games like flag tag and shuttle runs make conditioning fun and engaging. These drills build a strong foundation while keeping young athletes motivated and excited about football training.
3.2 Drills for 11-13-Year-Olds
Drills for 11-13-year-olds emphasize advancing agility, speed, and strength while refining technique. Ladder drills improve footwork, while cone drills focus on sharp turns and directional changes. Shuttle runs and sprint intervals enhance endurance and explosiveness. Strength exercises like bodyweight squats and planks are introduced to build core stability. These drills prepare young athletes for more competitive play, fostering physical and mental development in a structured, engaging manner.
3.3 Drills for 14-16-Year-Olds
Drills for 14-16-year-olds focus on advancing to high-intensity training, preparing athletes for competitive play. Speed ladder drills and cone exercises improve agility and quick directional changes. Pro agility shuttle and box jumps enhance explosiveness and reaction time. Strength training includes resistance bands and plyometric exercises to build power. Game-specific conditioning, such as simulated match scenarios, boosts endurance and mental toughness. These drills refine skills, ensuring young athletes are physically and mentally prepared for higher-level competition while reducing injury risks through proper technique and conditioning.
Warm-Up and Cool-Down Routines
Dynamic warm-ups include high knees, leg swings, and arm circles to prepare muscles. Cool-down involves static stretches and hydration to aid recovery and prevent soreness.
- Emphasizes flexibility and muscle relaxation.
- Helps transition smoothly after intense training.
4.1 Dynamic Stretching Exercises
Dynamic stretching involves active movements like leg swings, high knees, and arm circles to prepare muscles for activity. These exercises improve flexibility and range of motion, reducing injury risk.
- Incorporates movement to warm up specific muscle groups.
- Enhances blood flow and joint mobility.
4.2 Post-Workout Recovery Techniques
Effective recovery after workouts is crucial for young athletes. Techniques include static stretching to improve flexibility and reduce muscle soreness, along with hydration strategies to replenish fluids lost during exercise.
- Static stretches help lengthen muscles post-exercise.
- Hydration ensures proper muscle recovery and energy replenishment.

Nutrition and Recovery for Young Athletes
Proper nutrition is vital for young footballers, optimizing performance and recovery. A balanced diet rich in proteins, carbohydrates, and vitamins fuels growth and energy. Staying hydrated is essential for endurance and focus, while avoiding sugary snacks prevents energy crashes, ensuring peak physical and mental conditioning.
5.1 Balanced Diet for Optimal Performance
A balanced diet is crucial for young footballers to fuel their training and games. It should include lean proteins like chicken and fish for muscle repair, complex carbohydrates such as whole grains and fruits for sustained energy, and healthy fats from nuts and avocados for overall health. Incorporating vegetables provides essential vitamins and minerals, while whole grains support muscle function. Proper hydration with water is vital to maintain performance levels and prevent fatigue during drills and matches.
5.2 Hydration Strategies
Proper hydration is vital for young football players to maintain energy levels and physical performance. Encourage drinking water before, during, and after practices and games. Aim for 8-10 glasses daily, adjusting for activity intensity; Avoid sugary drinks that can cause energy crashes. Teach athletes to monitor urine color for hydration levels—pale yellow indicates proper hydration. Educate players and parents on the risks of dehydration, such as fatigue and dizziness, to ensure they prioritize water intake for optimal conditioning and safety.

Safety Guidelines and Injury Prevention
Reduce heading drills and incorporate neck-strengthening exercises to protect young players. Ensure proper technique in drills and monitor signs of fatigue to prevent injuries and promote safe conditioning.
6.1 Proper Technique in Drills
Proper technique is crucial in youth football conditioning to prevent injuries and optimize performance. Coaches should supervise drills closely, ensuring players maintain correct stances, sprinting forms, and movement mechanics. Emphasize controlled landings, balanced postures, and smooth transitions during agility exercises. Teaching proper tackling and blocking techniques reduces collision risks. Introduce drills like the Pro Agility Shuttle and Beat Your Man Drill to improve fundamentals while prioritizing safety. Consistent feedback helps young athletes develop muscle memory for correct movements, minimizing injury risks and enhancing overall conditioning effectiveness.
6.2 Recognizing Signs of Fatigue
Recognizing signs of fatigue in young athletes is vital for ensuring safety and optimizing conditioning. Coaches should monitor for decreased performance, slower reaction times, and physical cues like slouched posture or labored breathing. Fatigue can lead to poor technique, increasing injury risks. Encourage players to communicate their limits and incorporate rest periods in drills. Adjusting intensity based on visible signs of tiredness helps maintain effectiveness while safeguarding health. Proper rest and recovery strategies, such as hydration and stretching, are essential for managing fatigue and preventing overtraining in young football players.
Game-Specific Conditioning Drills
Game-specific conditioning drills mimic real match scenarios, enhancing agility, speed, and reaction time through simulated plays, helping young athletes prepare for actual competition demands effectively.
7.1 Simulating Game Situations
Simulating game situations in youth football conditioning involves creating drills that mirror real-match scenarios, such as sprinting through cones, rapid direction changes, and reaction exercises. These drills improve agility, speed, and decision-making. For example, players run through zig-zag cone lines, then engage in 1v1 challenges, or complete four-cone drills before catching passes. Such exercises not only enhance physical fitness but also develop tactical awareness and mental sharpness, preparing young athletes for the demands of competitive play. This approach ensures they are ready to perform at their best during actual games.
7.2 Position-Specific Conditioning
Position-specific conditioning tailors drills to the unique demands of each role in football. For example, quarterbacks practice agility drills like cone weaves and reaction exercises to enhance evasion and accuracy. Linemen focus on strength and endurance with sled pushes and shuttle runs to build explosive power. Wide receivers perform speed drills, such as ladder exercises and sprint intervals, to improve acceleration and change-of-direction skills. These targeted workouts ensure players develop the specific physical and technical abilities needed for their positions, optimizing their performance on the field.