Welcome to the VEVOR Hydraulic Pump Manual, your comprehensive guide to understanding and operating your hydraulic pump effectively. This manual covers specifications, installation, maintenance, troubleshooting, and safety tips to ensure optimal performance and longevity of your equipment. Designed for both novice and experienced users, it provides detailed instructions to help you maximize efficiency and safety while operating the pump.
1.1 Overview of the VEVOR Hydraulic Pump
The VEVOR Hydraulic Pump is a reliable and versatile tool designed for various industrial and automotive applications. Available in single and double-acting models, it offers impressive lift capacities and maximum pressures up to 10,000 PSI. Built with durable materials, it ensures efficient performance for tasks like lifting, pressing, and bending. Suitable for both professionals and DIY enthusiasts, it comes with comprehensive manuals for safe and effective operation.
1.2 Importance of the Manual for Safe and Effective Use
This manual is essential for safe and efficient operation of the VEVOR Hydraulic Pump. It provides detailed instructions, safety precautions, and troubleshooting tips, ensuring users can handle the equipment confidently. By following the guidelines, users can prevent accidents, extend the pump’s lifespan, and optimize its performance for various applications, making it a crucial resource for both novice and experienced operators.

Technical Specifications of the VEVOR Hydraulic Pump
This section details the VEVOR Hydraulic Pump’s technical specifications, including maximum pressure, lift capacity, and operational features. It outlines key capabilities and performance metrics, ensuring optimal use.
2.1 Key Features and Capabilities
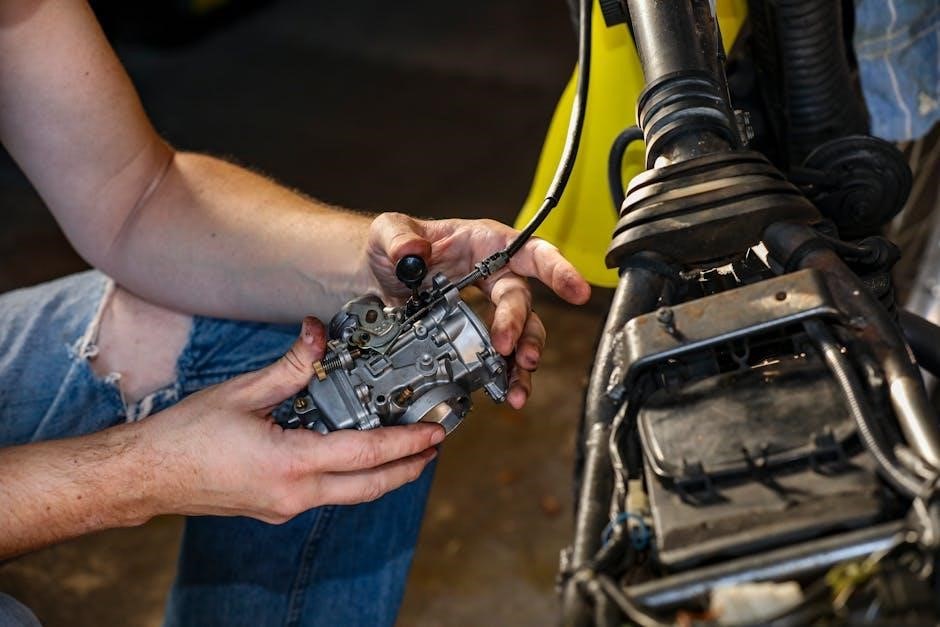
The VEVOR Hydraulic Pump boasts a robust design with a maximum hydraulic pressure of up to 10,000 PSI, making it suitable for heavy-duty applications like lifting, pressing, and bending. It features a durable construction with a metal or plastic reservoir, depending on the model, and offers both single and double-acting functionality. The pump is equipped with a 12V DC motor for efficient power delivery and includes a user-friendly control system for precise operation. Additionally, it comes with a range of accessories, including hydraulic hoses, connectors, and a detailed manual for easy setup and maintenance. These features ensure versatility and reliability across various industrial and automotive tasks, making it a trusted choice for professionals and DIY enthusiasts alike.
2.2 Maximum Hydraulic Pressure and Lift Capacity
The VEVOR Hydraulic Pump delivers a maximum hydraulic pressure of 10,000 PSI, enabling it to handle demanding tasks with ease. Its lift capacity reaches up to 28.5 inches, making it ideal for heavy-duty lifting applications. This combination of high pressure and lift capability ensures the pump performs efficiently in industrial, automotive, and repair settings, catering to both professional and DIY needs effectively.
Installation and Assembly Guidelines
Proper installation and assembly of the VEVOR Hydraulic Pump are crucial for optimal performance and safety. Follow the manual’s step-by-step instructions to ensure all components are correctly aligned and securely fastened. Prior to assembly, inspect all parts for damage or wear. Adhere to the provided guidelines to avoid operational issues and ensure longevity of the pump.
3.1 Pre-Installation Checks and Requirements
Before installing the VEVOR Hydraulic Pump, ensure all components are included and undamaged. Verify the pump type matches your application needs. Check fluid levels, connections, and compatibility with your system. Ensure the workspace is clean and well-ventilated. Review the manual for specific installation requirements and safety precautions to prevent operational issues and ensure a smooth setup process.
3.2 Step-by-Step Assembly Process
Begin by unpacking and organizing all components and accessories. Connect the hydraulic cylinder to the power unit, ensuring secure attachment. Attach the electric motor to the pump, aligning it properly. Install the directional control valve, following the manual’s instructions. Tighten all connections firmly to avoid leaks. Finally, test the system at low pressure to ensure smooth operation before full deployment.
Operating Instructions for the Hydraulic Pump
Start the pump by turning the power switch on. Use the control valves to regulate fluid flow and pressure. Monitor operations closely to ensure smooth performance.
4.1 Starting the Pump and Initial Setup
Begin by ensuring all connections are secure and fluid levels are adequate. Turn the power switch on and allow the pump to reach operational pressure. Refer to the manual for specific startup procedures to avoid damage or malfunction. Always check for leaks and test the system at low pressure before full operation. Follow these steps carefully to ensure safety and efficiency.
4.2 Understanding the Control Valves and Functions
Understand the control valves to regulate fluid flow and pressure effectively. The directional control valve directs fluid to the cylinder or reservoir. Pressure control valves manage maximum system pressure, while flow control valves adjust fluid speed. Familiarize yourself with each valve’s function to ensure precise control and smooth operation. Proper valve operation is crucial for safe and efficient hydraulic system performance. Refer to the manual for detailed valve configurations and settings.
Maintenance and Upkeep Recommendations
Regularly inspect fluid levels, filters, and hoses. Replace worn components promptly to prevent system failure. Follow the manual’s oil replacement schedule for optimal performance and longevity.
5.1 Routine Maintenance Checks
Perform daily checks on fluid levels, ensuring they are within the recommended range. Inspect hoses and connections for leaks or damage. Clean the pump and reservoir regularly to prevent contamination. Check the condition of seals and gaskets, replacing them if worn. Refer to the manual for specific intervals and procedures to maintain peak performance and extend the pump’s lifespan.
5.2 Oil Replacement and Fluid Management
Regular oil replacement is crucial for maintaining hydraulic pump performance. Use high-quality hydraulic fluid that meets VEVOR specifications. Turn off the pump, allow it to cool, and drain the old oil into a container. Refill with 4-5 quarts of new fluid, ensuring the level matches the manual’s guidelines. Always check for contamination and replace the filter if necessary to prevent damage and ensure smooth operation.
Troubleshooting Common Issues
Identify and resolve common hydraulic pump issues, such as pressure loss or motor failure, by checking oil levels, ensuring proper fluid flow, and inspecting valve operations regularly.
6.1 Identifying and Diagnosing Problems
Early detection of issues is crucial for maintaining your VEVOR hydraulic pump. Common problems include pressure loss, valve malfunctions, or fluid contamination. Always start by checking oil levels, inspecting valves, and ensuring proper fluid flow. Refer to the manual for diagnostic steps and fault codes. Regular maintenance can prevent most issues, ensuring smooth and reliable operation of your hydraulic system.
6.2 Solutions for Common Hydraulic Pump Issues
For pressure loss, check oil levels and inspect for leaks. If valves malfunction, clean or replace them as needed. Address fluid contamination by draining and refilling with recommended hydraulic oil. Consult the manual for specific repair steps. Regular maintenance, such as replacing worn seals, can prevent recurring issues. Always refer to the troubleshooting guide for tailored solutions to ensure optimal pump performance and longevity.

Safety Precautions and Best Practices
Always wear protective gear and ensure the area is clear of obstacles. Follow manual guidelines to avoid accidents. Regularly inspect components for wear and damage to maintain safety and efficiency during operation.
7.1 Essential Safety Guidelines for Operation
Always wear personal protective equipment, including gloves and safety goggles, when operating the hydraulic pump. Ensure the surrounding area is clear of obstacles and bystanders. Adhere strictly to the manual’s guidelines to prevent accidents. Regularly inspect hoses, valves, and connections for signs of wear or damage. Never overload the pump beyond its specified capacity. Use only genuine VEVOR parts for repairs and replacements to maintain safety and performance.
7.2 Emergency Procedures and Shutdown Steps
In case of an emergency, immediately shut off the power supply to the hydraulic pump. Release any built-up hydraulic pressure gradually to avoid sudden system failure. Secure the equipment and evacuate the area if necessary. Do not attempt repairs without proper training. Contact VEVOR customer support for professional assistance. Always follow these steps to ensure safety and prevent further damage to the pump or surrounding equipment.

Accessories and Components Included
Your VEVOR hydraulic pump package includes essential accessories like connectors, hoses, and a detailed manual. Optional upgrades, such as a higher-capacity reservoir or pressure gauge, are available separately to enhance performance and functionality.
8.1 List of Accessories and Their Functions
Your VEVOR hydraulic pump package includes a 4-quart single-acting hydraulic pump, an English manual, and several related accessories like connectors. A higher-capacity reservoir and pressure gauge are optional upgrades. These components ensure smooth operation, allowing for efficient fluid management and pressure control, while the manual provides detailed instructions for assembly, maintenance, and troubleshooting. Each accessory is designed to enhance functionality and simplify user experience.
8.2 Optional Parts and Upgrades
Optional upgrades for your VEVOR hydraulic pump include a 15-quart sturdy metal reservoir and a 12V DC motor for enhanced performance. A foot pedal is available for hands-free operation, improving convenience. Customizable pressure settings and additional connectors can also be purchased to adapt the pump to specific tasks. These upgrades ensure greater flexibility, efficiency, and longevity, tailored to meet diverse operational demands and preferences.

Warranty and Customer Support Information
VEVOR offers a comprehensive warranty for your hydraulic pump, covering manufacturing defects. For inquiries or support, contact their customer service team via phone, email, or online chat. Their dedicated support ensures prompt assistance and access to resources for troubleshooting and maintenance.
9.1 Warranty Terms and Conditions
VEVOR’s hydraulic pump is backed by a limited warranty covering manufacturing defects for a specified period. The warranty applies to products used under normal conditions and as per the manual. Damage from misuse, improper installation, or lack of maintenance is excluded. Customers must retain the original purchase receipt for warranty claims. Contact VEVOR’s customer support for detailed terms and to initiate any warranty-related processes.
9.2 Contacting VEVOR Customer Support
For inquiries, troubleshooting, or warranty-related issues, contact VEVOR’s dedicated customer support team via email or phone. Visit the official VEVOR website for contact details and support resources. Ensure you have your product model and order number ready for efficient assistance. Responses are typically provided within 24 hours during business days.
This manual provides essential guidance for safe and efficient use of your VEVOR hydraulic pump. Always follow safety protocols and maintain your equipment regularly for optimal performance. Thank you for choosing VEVOR!
10.1 Summary of Key Points
This manual provides a detailed guide for the VEVOR hydraulic pump, covering installation, operation, and maintenance. It emphasizes safety protocols and troubleshooting techniques to ensure efficient use. Regular maintenance, proper fluid management, and adherence to safety guidelines are crucial for optimal performance. By following these instructions, users can maximize the pump’s lifespan and productivity while minimizing risks. Refer to the manual for specific procedures and recommendations.
10.2 Tips for Maximizing Pump Performance
To maximize your VEVOR hydraulic pump’s performance, ensure regular maintenance, including fluid checks and filter replacements. Always operate within the recommended pressure range and avoid overloading. Use high-quality hydraulic oil suitable for your pump’s specifications. Keep the system clean and free from contaminants. Follow the manual’s guidelines for assembly and operation. Regularly inspect hoses and connections for wear or damage. Consult the manual for specific tips tailored to your model.

References and Additional Resources
- Official VEVOR Hydraulic Pump Manuals
- VEVOR Customer Support
- Additional Hydraulic Pump Resources
11.1 Official VEVOR Documentation and Manuals
VEVOR provides comprehensive PDF manuals for their hydraulic pumps, including detailed specifications, parts diagrams, and safety guidelines. These documents are available on the official VEVOR website or through their customer support. The VEVOR 4LCZYYBSLDZY00001V0 Single-Acting Hydraulic Power Unit manual is a prime example, offering step-by-step instructions for installation, operation, and maintenance. Refer to these resources for accurate and reliable information.
11.2 Recommended Online Resources for Further Learning
For deeper understanding, explore VEVOR’s official website and YouTube channel for tutorials and troubleshooting guides. Hydraulic forums and communities also offer valuable insights and user experiences. Additionally, websites like ManualsLib and ManualsOnline provide access to PDF manuals and repair guides for various hydraulic pump models, ensuring comprehensive knowledge and troubleshooting assistance.