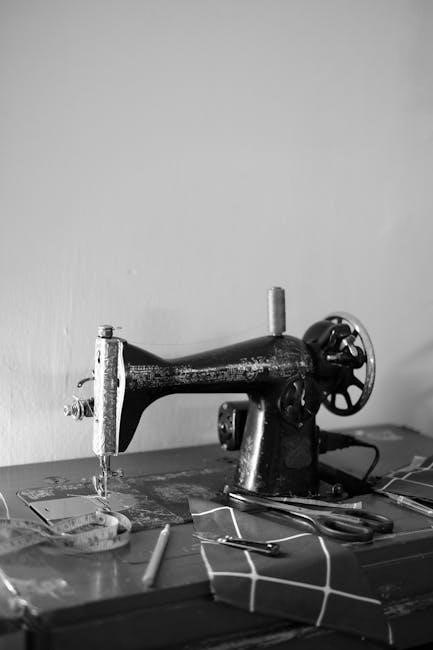
The Brother sewing machine repair manual is an essential resource for maintaining and troubleshooting your device․ It covers maintenance, troubleshooting, and repair steps, helping extend machine life and optimize performance․ This guide empowers users to handle repairs confidently, ensuring their sewing machine runs smoothly for years․
1․1 Importance of a Repair Manual for Brother Sewing Machines
A repair manual is crucial for maintaining and repairing Brother sewing machines․ It provides detailed guidance on maintenance, troubleshooting, and repair procedures, ensuring optimal performance and extending machine lifespan․ With a manual, users can identify and fix common issues, such as tension adjustments or error codes, saving time and money․ It empowers owners to perform DIY repairs confidently, avoiding costly professional services․
1․2 Overview of the Brother Sewing Machine Repair Manual PDF
The Brother sewing machine repair manual PDF is a comprehensive guide designed to help users maintain, troubleshoot, and repair their machines․ It includes detailed diagrams, step-by-step instructions, and explanations of error codes․ The manual covers various models, offering insights into common issues and solutions․ Accessible in PDF format, it provides easy navigation and printable sections, making it an invaluable resource for both beginners and experienced users․
How to Obtain the Brother Sewing Machine Repair Manual PDF
The Brother sewing machine repair manual PDF can be downloaded from the official Brother website, authorized dealers, or trusted online forums offering free or paid access․
2․1 Official Sources for the Repair Manual
The Brother sewing machine repair manual PDF can be downloaded directly from the official Brother website․ Visit the support section, enter your machine model, and access the manual․ Additionally, authorized Brother dealers provide genuine manuals, ensuring authenticity and compatibility․ These sources guarantee accurate and comprehensive guides tailored to your specific Brother sewing machine model․
2․2 Alternative Sources for the Repair Manual
If the official sources are unavailable, alternative platforms like forums, sewing communities, and third-party websites offer downloadable PDFs․ Websites such as ManualsLib or Scribd often host user-shared manuals․ Additionally, social media groups or specialized sewing forums may provide access to these resources․ Always verify the authenticity and compatibility of the manual with your Brother sewing machine model before downloading․
General Troubleshooting Guide for Brother Sewing Machines
This guide helps identify common issues like thread jams or error codes․ It provides step-by-step solutions to resolve problems quickly, ensuring smooth operation of your Brother sewing machine․
3․1 Common Issues and Their Solutions
Common issues with Brother sewing machines include thread jams, error codes, and mechanical jams․ Solutions often involve cleaning the machine, checking thread tension, or resetting settings․ For error codes, consulting the manual or online guides can provide specific fixes․ Regular maintenance, like oiling parts and replacing needles, helps prevent these issues․ Addressing problems early ensures smooth operation and extends the machine’s lifespan․
3․2 Error Codes and Their Meanings
Brother sewing machines display error codes to indicate specific issues․ For example, error 1 often relates to thread jams, while error 2 might signal a problem with the bobbin․ error 6 typically points to a mechanical jam requiring immediate attention․ Referencing the repair manual or online guides provides detailed explanations and solutions for each code, ensuring proper troubleshooting and maintenance to restore machine functionality efficiently․
Essential Tools and Materials for Repair
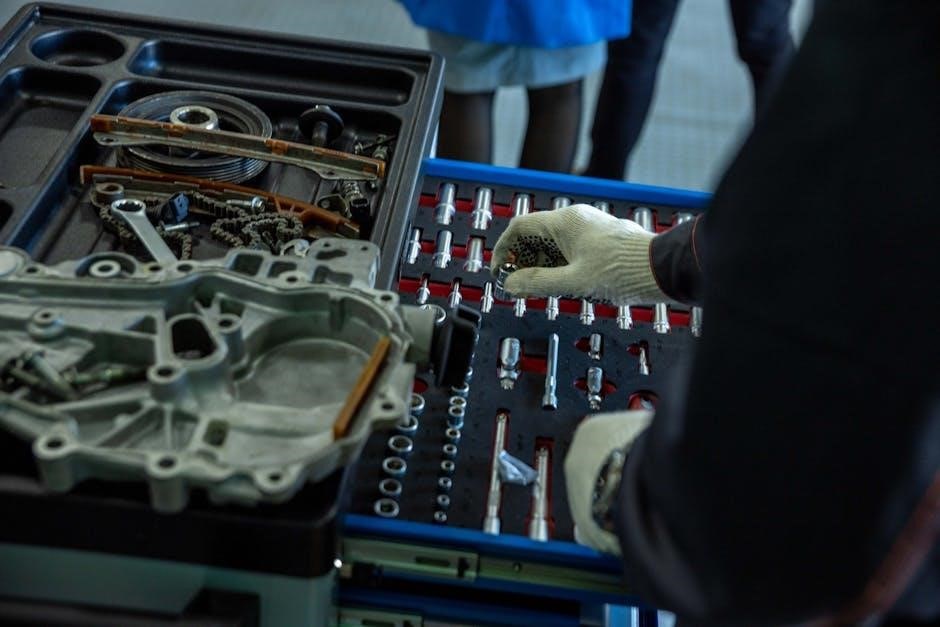
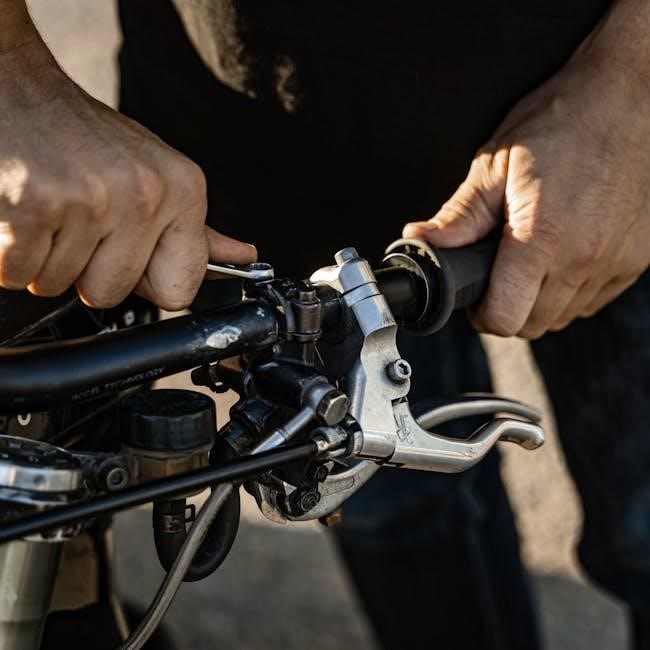
Essential tools for Brother sewing machine repair include screwdrivers, pliers, and oil․ These tools are vital for disassembling, adjusting, and maintaining machine components effectively․ Proper tools ensure precise repairs and prevent damage․
4․1 Basic Tools Required for Sewing Machine Repair
The basic tools needed for Brother sewing machine repair include screwdrivers (flathead and Phillips), pliers, oil, and cleaning brushes․ These tools are essential for disassembling, cleaning, and adjusting machine parts․ Additionally, a torx driver may be required for specific models․ Having these tools readily available ensures efficient and effective repairs, preventing further damage to the machine․
4․2 Consumables and Replacement Parts
Regular consumables like sewing machine needles, bobbins, and thread are essential for optimal performance․ Replacement parts such as belts, feed dogs, and tension springs may be needed over time․ Always source parts from authorized Brother dealers to ensure compatibility and quality․ Proper replacement of worn or damaged components ensures smooth operation and prevents further machine damage․
Step-by-Step Maintenance Schedule
A well-structured maintenance schedule ensures your Brother sewing machine runs efficiently․ Regular tasks include daily cleaning, weekly bobbin checks, and monthly oil application․ Annual professional servicing is recommended to maintain performance and longevity․
5․1 Daily and Weekly Maintenance Tasks
Daily maintenance involves cleaning lint and debris from the bobbin area and feed dogs․ Weekly, inspect and oil moving parts to ensure smooth operation․ Check the bobbin tension and thread path for proper alignment․ Dust the exterior and internal components gently with a soft brush․ Regularly check for loose screws and tighten them if necessary․ These simple steps help prevent mechanical issues and keep your machine running efficiently․
5․2 Monthly and Annual Maintenance Procedures
Monthly, lubricate moving parts and check the belts and pulleys for wear․ Perform a thorough cleaning of internal components and inspect the tension discs․ Annually, replace the machine’s oil and have the timing checked by a professional․ These procedures ensure optimal performance and prevent major repairs, keeping your Brother sewing machine in excellent condition year-round․
Common Repairs and Fixes
Common repairs include tension adjustments, clearing thread jams, and replacing needles․ Regular maintenance, like cleaning and oiling, prevents major issues․ Addressing these fixes early ensures smooth operation and extends the machine’s lifespan․
6․1 Adjusting Tension Settings
Proper tension adjustment is crucial for smooth stitching and to prevent issues like uneven seams or thread breakage․ Locate the tension dials on your Brother machine, typically found on the front or side․ Turn the dials clockwise or counterclockwise to increase or decrease tension․ Always test adjustments on scrap fabric to ensure balanced stitching․ Refer to your Brother sewing machine repair manual for specific guidance tailored to your model, such as the popular CS7000X․
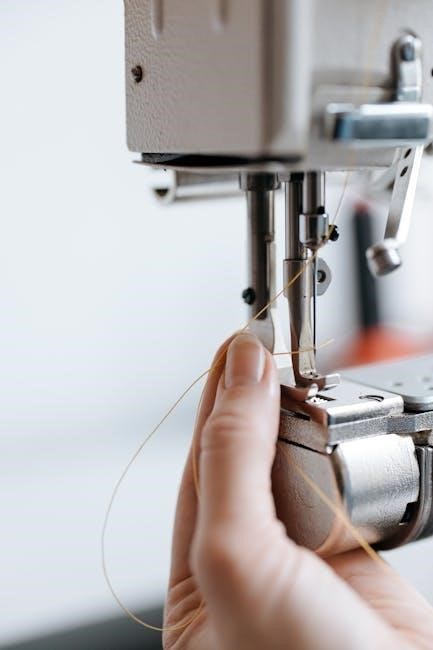
6․2 Replacing Broken or Worn-Out Parts
Replacing damaged or worn parts is essential for maintaining your Brother sewing machine’s performance․ Always use authentic Brother components to ensure compatibility and reliability․ Consult your repair manual for specific part numbers and step-by-step replacement instructions․ Common replacements include needles, bobbins, and tension springs․ After replacing parts, test the machine to ensure proper function and smooth stitching․ Regularly checking for wear can prevent major repairs․
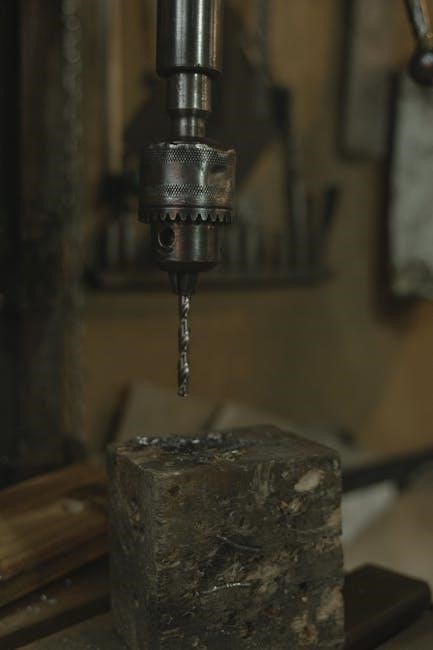
Advanced Repair Techniques
Advanced techniques include timing adjustments and electrical system troubleshooting․ These methods require precision and are often beyond basic maintenance, ensuring optimal machine performance and longevity․
7․1 Timing Adjustment for Brother Sewing Machines
Timing adjustment is critical for ensuring proper stitch formation and machine synchronization․ This advanced technique involves aligning the hook and needle to prevent thread breakage and fabric damage․ Always consult the Brother sewing machine repair manual for specific instructions, as improper adjustment can lead to machine malfunction․ Use precision tools like screwdrivers to adjust the timing meticulously, and test stitches to confirm accuracy․
7․2 Troubleshooting Electrical Issues
Electrical issues can disrupt your sewing machine’s performance․ Start by checking power cords and connections for damage or wear․ Ensure the machine is plugged into a stable power source and verify the voltage matches the machine’s requirements․ Consult the Brother sewing machine repair manual for guidance on diagnosing error codes related to electrical malfunctions․ If issues persist, contact a certified technician to avoid further complications․
DIY vs․ Professional Repair
DIY repairs can save costs and empower users, but complex issues like electrical problems may require professional expertise․ Always consult the Brother sewing machine repair manual for guidance․
8․1 When to Attempt DIY Repairs
DIY repairs are ideal for minor issues like cleaning, oiling, or replacing parts․ Use the Brother sewing machine repair manual to guide you through simple fixes․ If the problem is straightforward, such as adjusting tension or fixing a jam, DIY can save time and money․ Ensure you have basic tools and consult the manual before starting to avoid further damage․
8․2 Knowing When to Seek Professional Help
For complex issues like electrical problems or internal mechanical failures, seek professional help․ The Brother sewing machine repair manual may not cover advanced repairs․ If you’re unsure or lack experience, a certified technician can prevent further damage․ They have specialized tools and expertise to handle intricate repairs efficiently, ensuring your machine operates optimally and safely․
Safety Precautions During Repair
Always disconnect the power before starting repairs․ Use protective gear like gloves and safety glasses․ Follow the Brother sewing machine repair manual guidelines to avoid injuries and ensure safe handling of electrical components and sharp parts․
9․1 General Safety Guidelines
Always disconnect the power before starting repairs․ Wear protective gear like gloves and safety glasses․ Follow the Brother sewing machine repair manual instructions carefully․ Avoid touching sharp parts or electrical components․ Keep loose clothing tied back and long hair secured․ Ensure good lighting and a stable workspace․ Never allow children near the machine during repairs․ Be cautious with oils and lubricants to avoid accidents․
9․2 Specific Safety Warnings for Brother Machines
Brother-specific guidelines emphasize avoiding exposure to water and using only authorized power cords․ Never operate the machine with damaged cords or plugs․ Handle electrical components with care to prevent shocks․ Ensure the machine is on a stable surface to avoid tipping․ Always refer to the Brother sewing machine repair manual for model-specific safety notes․ Seek professional help for complex electrical issues․
Additional Resources for Sewing Machine Repair
Explore online forums, video tutorials, and repair guides for detailed sewing machine troubleshooting․ These resources offer practical solutions and expert advice for both beginners and professionals․
10․1 Online Communities and Forums
Online communities and forums are invaluable for sewing machine repair․ Platforms like sewing forums and social media groups offer expert advice, troubleshooting tips, and shared experiences․ Users can ask questions, share solutions, and access community-driven repair guides․ These spaces foster collaboration and provide tailored support for specific issues, making them a great supplement to official manuals for Brother sewing machines․
10․2 Video Tutorials and Repair Guides
Video tutorials and repair guides offer step-by-step instructions for fixing Brother sewing machines․ These resources cover common repairs, such as adjusting tension or replacing parts, and are often created by experts or experienced users․ They provide visual guidance, making complex tasks easier to understand․ Additionally, many tutorials include troubleshooting tips and maintenance advice, helping users keep their machines in optimal condition and prevent future issues․
The Brother sewing machine repair manual is a vital tool for maintaining and repairing your device, empowering you to resolve issues confidently and extend its lifespan effectively․
11․1 Summary of Key Points
The Brother sewing machine repair manual provides comprehensive guidance for troubleshooting, maintenance, and repair․ It equips users with the knowledge to address common issues, ensuring optimal performance and longevity․ By following the manual, sewists can resolve problems confidently, reducing downtime and extending the life of their machine․ This resource is indispensable for anyone aiming to maintain or repair their Brother sewing machine effectively․
11․2 Final Thoughts on Repairing Your Brother Sewing Machine
Repairing your Brother sewing machine can be a rewarding experience with the right resources․ The repair manual provides clear guidance, empowering you to resolve issues confidently․ Regular maintenance and timely repairs ensure longevity․ While DIY fixes are cost-effective, complex problems may require professional expertise․ By following the manual and staying proactive, you can enjoy seamless sewing sessions for years to come․
References and Further Reading
For detailed repair guidance, visit the official Brother website or authorized dealers․ Additional resources include sewing forums, YouTube tutorials, and specialized repair communities․
Consult the Singer Heavy Duty manual or Brother CS7000X guides for model-specific insights․ Online forums like sewing communities often share valuable DIY repair tips and solutions;
12․1 Recommended Websites and Manuals
Visit the official Brother website for authentic repair manuals and guides․ Additional resources include Singer Heavy Duty manuals and online forums like sewing communities․ Check YouTube tutorials for visual repair guidance․ For specific models, refer to the Brother CS7000X manual or Pacesetter PS500 resources; Authorized dealers also provide detailed PDF manuals for model-specific troubleshooting and maintenance․
12․2 Suggested Tools and Supplies
For Brother sewing machine repairs, essential tools include screwdrivers, oil, and replacement parts like needles and belts․ Use high-quality supplies from authorized dealers to ensure compatibility․ Refer to the Brother CS7000X manual or Pacesetter PS500 guides for specific tool recommendations․ Always opt for original Brother parts to maintain machine performance and longevity․ Keep a well-stocked toolkit handy for quick fixes and regular maintenance tasks․