Pilates Reformer exercises offer a versatile, low-impact full-body workout, improving strength, flexibility, and posture. Perfect for all fitness levels, they promote mindful movement and core engagement. Downloading a free PDF guide provides convenient access to structured routines, helping you get started from home and achieve balanced fitness.
What is Pilates Reformer?
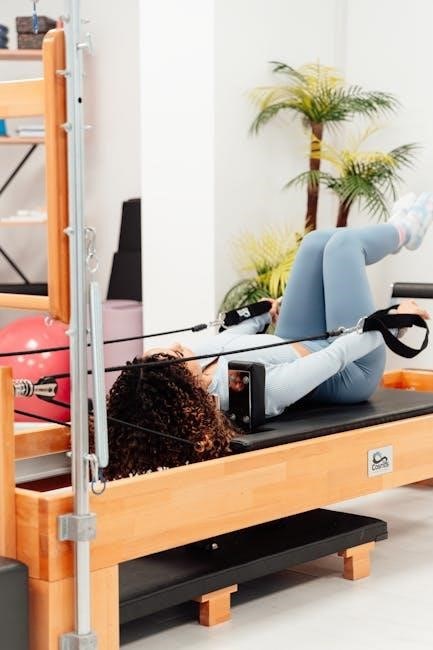
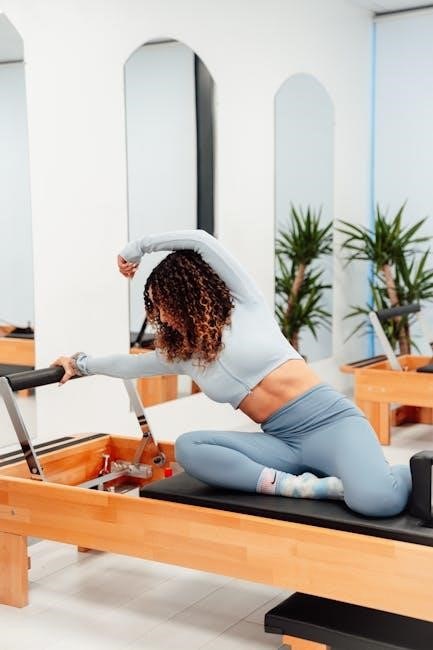
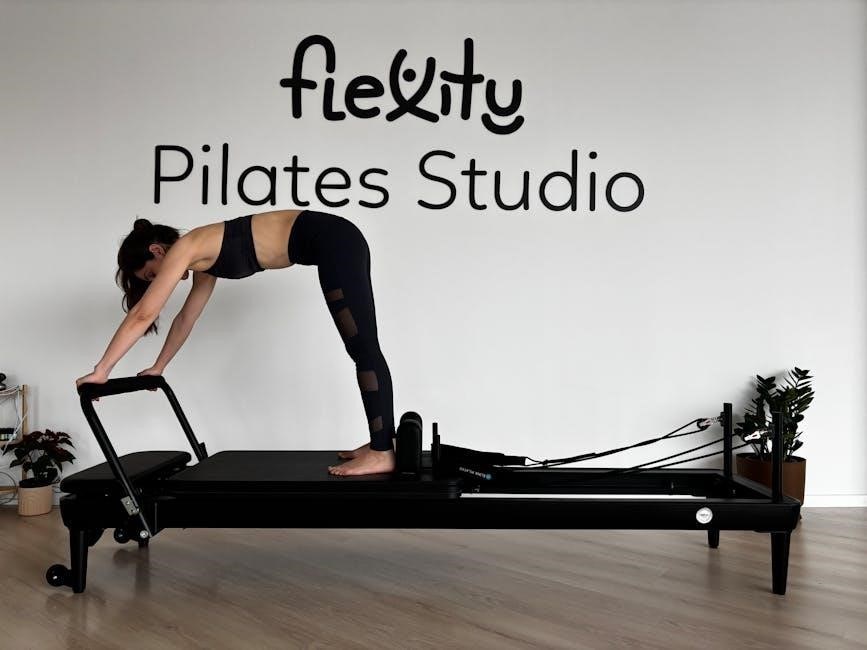
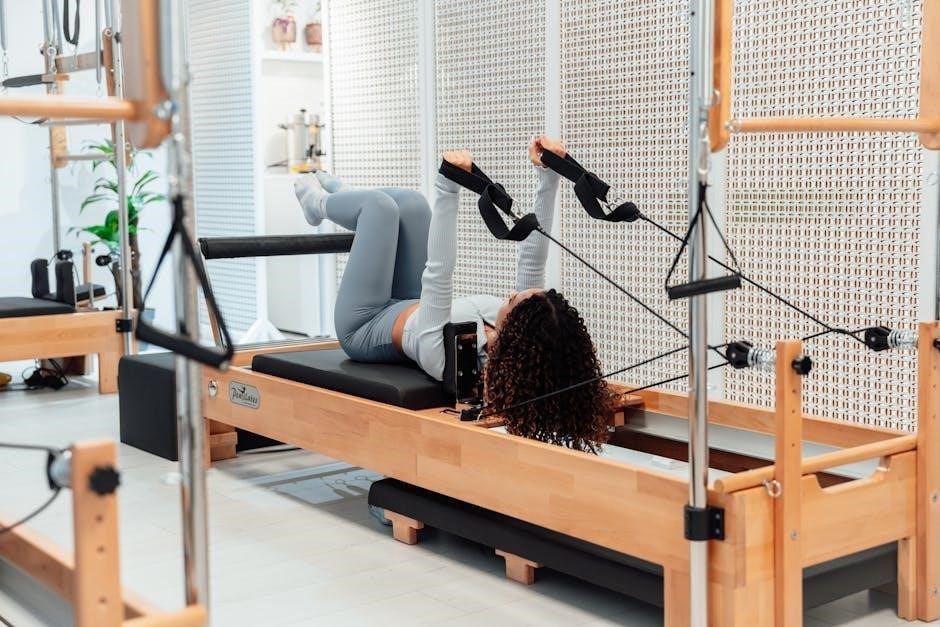
The Pilates Reformer is a specialized exercise machine designed to enhance strength, flexibility, and body alignment. It consists of a moving carriage and adjustable springs that provide resistance, allowing for controlled, flowing movements. Originally developed by Joseph Pilates, the Reformer is a key component of Pilates practice, offering a versatile workout that targets the entire body. Its design accommodates users of all fitness levels, making it an ideal tool for building core strength, improving posture, and achieving overall physical fitness. The Reformer’s unique system ensures efficient and effective exercise execution.
Benefits of Pilates Reformer Workouts
Pilates Reformer workouts offer numerous benefits, including improved core strength, enhanced flexibility, and better posture. The low-impact nature of the exercises makes them ideal for individuals recovering from injuries or those seeking a gentle yet effective workout. Regular practice can also boost cardiovascular health, improve body alignment, and reduce stress. Additionally, the Reformer’s resistance system allows for a full-body workout, targeting multiple muscle groups simultaneously. With its focus on mindful movement, Pilates Reformer exercises promote overall physical and mental well-being, making it a popular choice for people of all fitness levels. Its versatility ensures a challenging yet rewarding experience.
Understanding the Pilates Reformer Machine
The Pilates Reformer is a versatile exercise machine with a moving carriage, springs, and a footbar. It uses resistance to strengthen muscles, improve flexibility, and enhance coordination, offering a full-body workout tailored to individual fitness levels. Its adjustable springs allow for varied resistance, making it suitable for both beginners and advanced users. The machine’s design supports controlled movements, promoting proper form and alignment, which are essential for maximizing benefits and preventing injury. This equipment is a cornerstone of Pilates, fostering a balanced and effective fitness routine;
Key Components of the Reformer
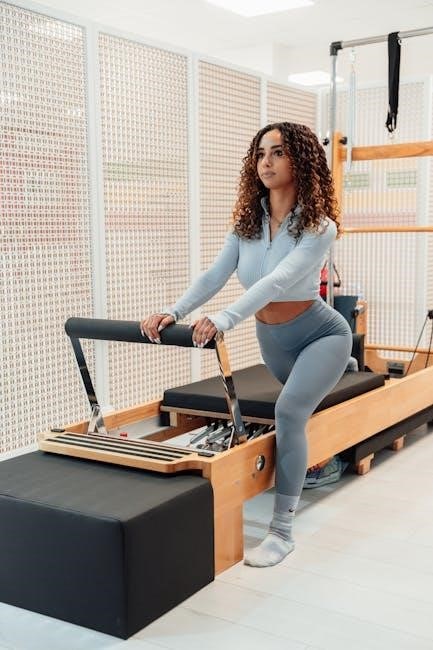
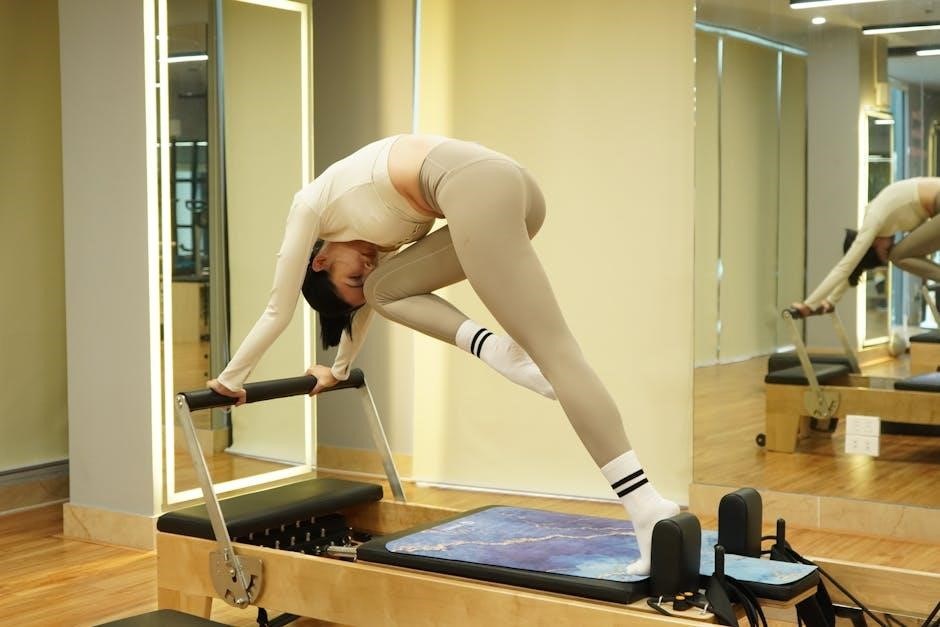
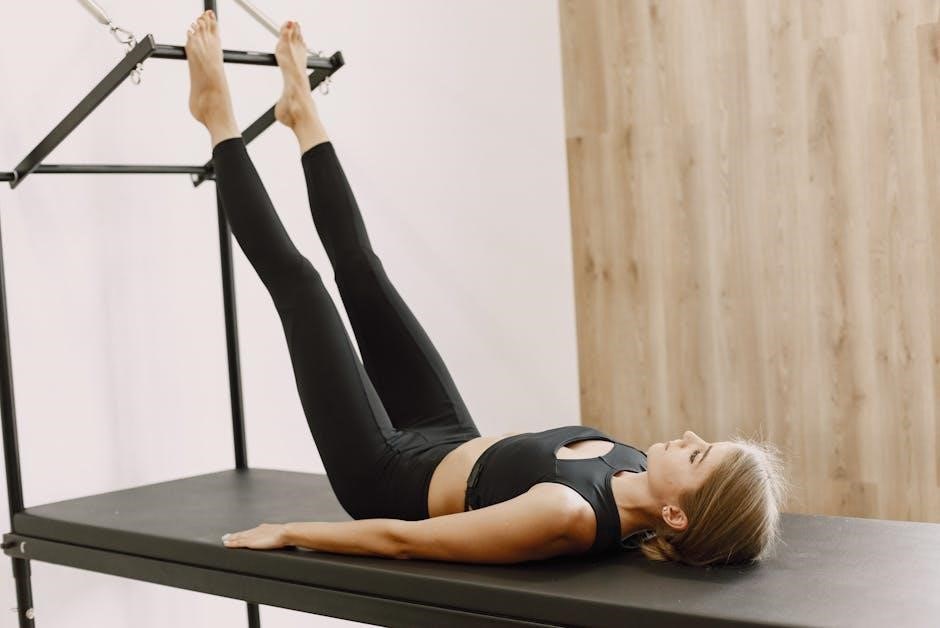
The Pilates Reformer consists of a sturdy frame, a sliding carriage, adjustable springs, a footbar, and removable handles. The carriage moves along the frame, offering resistance via springs, which can be adjusted to vary workout intensity. The footbar is used for pushing and pulling movements, while the handles provide support and control during exercises. Some Reformers also feature a headrest for comfort and proper spinal alignment. These components work together to provide a dynamic, low-impact workout that targets strength, flexibility, and overall body awareness, making the Reformer a versatile tool for comprehensive fitness training.
How the Reformer Differs from Mat Pilates
The Pilates Reformer differs from Mat Pilates primarily through its use of equipment. The Reformer’s sliding carriage and adjustable springs provide mechanical resistance, enhancing strength and flexibility workouts. In contrast, Mat Pilates relies solely on body weight and gravity for resistance, focusing more on core strength and body control. The Reformer allows for a wider range of movements and can be more effective for targeting specific muscle groups, while Mat Pilates is highly portable and accessible. Both methods share the same Pilates principles, such as breath control and proper alignment, ensuring a holistic fitness experience.
Why Download a Pilates Reformer Exercises PDF?
Downloading a Pilates Reformer Exercises PDF provides convenient access to structured workouts, helping you plan and progress effectively. It’s a valuable resource for home or studio use.
Convenience of a Digital Guide
A digital guide offers unparalleled convenience, allowing you to access Pilates Reformer exercises anytime, anywhere. With a free PDF, you can easily plan workouts, track progress, and learn proper form. It eliminates the need for physical books, making it ideal for home use or on-the-go. The portability ensures you stay consistent with your fitness routine, while the organized structure helps you focus on specific goals, whether strength, flexibility, or overall wellness. This accessibility makes it easier to maintain a disciplined and enjoyable exercise regimen.
Free Resources Available Online
Free Pilates Reformer exercise resources are widely available online, offering a cost-effective way to explore workouts. Websites like Pinterest and official Pilates platforms provide downloadable PDF guides, complete with detailed instructions and images. These resources often cater to all fitness levels, from beginners to advanced practitioners. Many guides are designed to be user-friendly, allowing you to print or access them on your smartphone or tablet. Additionally, blogs and fitness websites frequently share free downloadable content, making it easy to find routines that suit your goals. Always ensure to download from reputable sources for quality and safety.
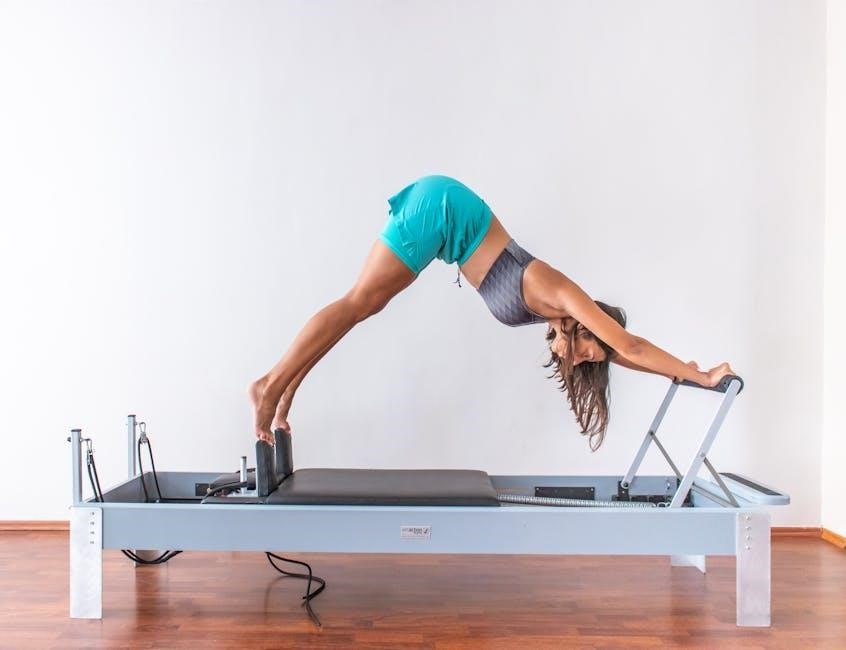
Popular Pilates Reformer Exercises
Popular Pilates Reformer exercises include Hundred, Roll-Up, Teaser, and Plank, designed to enhance core strength and flexibility. Free PDF guides offer clear instructions, perfect for home workouts.
Beginner-Friendly Exercises
Beginners can start with foundational Pilates Reformer exercises like Hundred, Roll-Up, and Teaser. These movements focus on core strength, flexibility, and proper form. Plank and Leg Circles are also excellent for building stability. Free PDF guides often include step-by-step instructions, making it easy to follow along at home. These exercises are perfect for those new to the Reformer, helping to establish a strong base and improve overall body awareness. They are low-impact and can be modified to suit individual fitness levels, ensuring a safe and effective workout experience.
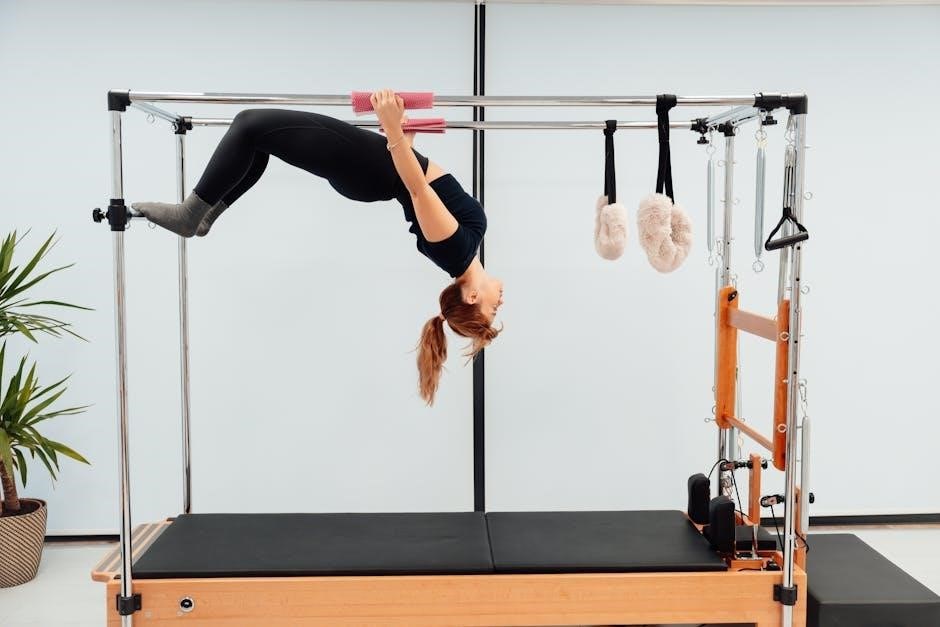
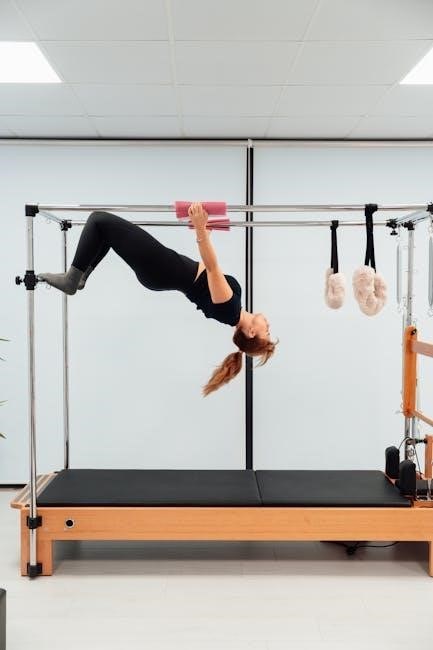
Advanced Exercises for Experienced Users
Experienced practitioners can challenge themselves with advanced Pilates Reformer exercises like Swan Dive, Long Spine, and Side Splits. These movements require precision, strength, and coordination, targeting specific muscle groups for a intense workout. Free PDF guides often include detailed instructions for these complex exercises, helping users refine their technique and push their limits. Whether focusing on dynamic movements or deep stretches, these exercises enhance flexibility, balance, and overall physical fitness. They are ideal for those looking to elevate their routine and achieve a more advanced level of Pilates practice.
How to Choose the Right PDF Guide
Look for a guide with clear instructions, images, and video links. Ensure it suits your fitness level and includes reviews for credibility and effectiveness.
Features to Look for in a High-Quality Guide
A high-quality Pilates Reformer PDF guide should include clear step-by-step instructions, high-quality images, and video links for proper form. Ensure it offers routines for different fitness levels, with modifications for beginners and challenges for advanced practitioners. Safety tips and alignment cues are essential to prevent injuries. Look for guides with positive reviews and expert endorsements. A well-organized layout with easy-to-follow sections will enhance your workout experience. Prioritize guides that focus on full-body engagement and mindful movement, aligning with the core principles of Pilates.
Reviews and Ratings of Popular PDFs
When selecting a Pilates Reformer PDF guide, check reviews and ratings to ensure quality. Look for guides endorsed by certified instructors and Pilates enthusiasts. Positive feedback often highlights clarity, effectiveness, and ease of use. Pay attention to comments about the guide’s structure, imagery, and modifications for different fitness levels. Trusted sources like Pinterest and Google Reviews can provide insights into popular and reliable PDFs. A guide with consistent positive reviews is more likely to meet your needs and enhance your workout experience. Prioritize guides with clear instructions and safety tips to ensure a safe and effective routine.
Top Websites for Free Pilates Reformer PDF Downloads
Discover top websites offering free Pilates Reformer PDF downloads, such as Pinterest, Google Drive, and official Pilates websites. These platforms provide easy access to high-quality guides and routines.
Reliable Sources for Free Downloads
When searching for free Pilates Reformer exercise PDFs, rely on trusted sources like Pinterest, Google Drive, and official Pilates websites. These platforms often host high-quality guides created by certified instructors. Look for well-structured documents with clear instructions and visuals to ensure a safe and effective workout. Avoid unofficial or unverified sites to maintain download safety and quality. Always check for updates or revisions to access the most current routines and techniques.
How to Ensure Safety and Quality of Downloads
To ensure safe and high-quality Pilates Reformer exercise PDF downloads, verify the source’s credibility by checking for professional certifications and user reviews. Avoid files from untrusted websites to prevent malware. Look for PDFs with clear instructions, visuals, and proper formatting. Ensure the content aligns with your fitness level and goals. Always scan downloaded files with antivirus software before opening. Prioritizing reputable sources guarantees a secure and beneficial workout experience, helping you achieve your fitness objectives effectively and safely.
Creating a Full-Body Workout Plan
A well-rounded Pilates Reformer workout plan should target all major muscle groups, combining strength-building exercises with flexibility and alignment-focused movements for overall physical fitness and balance.
Targeting Different Muscle Groups
A Pilates Reformer workout effectively targets various muscle groups, including the core, arms, legs, and back. By adjusting resistance levels and focusing on controlled movements, exercises can be tailored to strengthen specific areas, improving overall muscle balance and posture. The Reformer’s versatility allows for a wide range of motions, ensuring comprehensive engagement of both major and minor muscle groups, leading to a toned and evenly developed physique.
Building a Balanced Routine
A well-rounded Pilates Reformer routine combines strength, flexibility, and alignment exercises. Start with core-focused movements to stabilize and engage, then progress to full-body workouts that integrate arms, legs, and back. Incorporate variations in resistance and tempo to challenge different muscle groups and prevent plateaus. Balance is achieved by alternating between intense and restorative exercises, ensuring overall fitness and mental clarity. A structured approach ensures each session is productive and holistic, fostering long-term physical and mental well-being.
Modifications for Different Fitness Levels
Pilates Reformer exercises can be modified to suit different fitness levels, ensuring accessibility and effectiveness. Adjustments help make workouts challenging yet safe for everyone, enhancing overall fitness journeys.
Adjustments for Beginners
For those new to Pilates Reformer exercises, modifications are key to ensuring safety and effectiveness. Beginners can start with lighter resistance settings and slower movements. Using props like cushions or pillows can aid in maintaining proper form and alignment. Simplifying exercises, such as seated rows or leg curls, helps build foundational strength and coordination. Breathing techniques and controlled movements are emphasized to prevent injury and improve technique. Free PDF guides often include detailed adjustments, making it easier for newcomers to progress at their own pace and gradually increase intensity as they gain confidence and skill.
Challenges for Advanced Practitioners
Advanced Pilates Reformer exercises challenge experienced users to push their limits, enhancing strength, flexibility, and control. Complex movements like single-leg stretches or advanced side splits require precise alignment and coordination. Increasing resistance levels or incorporating dynamic flows can elevate intensity. Free PDF guides often include expert tips, such as tempo variations or multi-planar movements, to add complexity and prevent plateaus. These challenges help refine technique, build endurance, and achieve a deeper mind-body connection, ensuring continuous growth and mastery in Pilates practice.
Safety Tips for Pilates Reformer Exercises
Ensure proper form, start slowly, and use modifications as needed. Stay focused, avoid distractions, and consult professionals for guidance to prevent injuries and maximize benefits.
Proper Form and Alignment
Maintaining proper form and alignment is crucial for effective and safe Pilates Reformer exercises. Start with a neutral spine, engage your core, and ensure your body is positioned correctly on the Reformer. Pay attention to the placement of your hands, feet, and shoulders. Avoid slouching or rounding your back, as this can lead to strain or injury. Use the PDF guide to visualize proper alignment and adjust your movements accordingly. Practice mindfulness during each exercise to stay focused and maintain proper form throughout your workout.
Common Mistakes to Avoid
When performing Pilates Reformer exercises, common mistakes include overreliance on momentum, improper breathing, and neglecting to engage the core. Avoid using excessive force, as this can lead to injury or poor form. Ensure smooth, controlled movements and focus on your breath to maintain rhythm. Many free PDF guides highlight these errors, providing tips to correct them. Pay attention to your body position and alignment, as outlined in the guides, to maximize benefits and prevent strain. Consistent practice and awareness can help you avoid these pitfalls and enhance your workout experience.
Combining Reformer Exercises with Other Workouts
Enhance your fitness routine by combining Reformer exercises with mat Pilates or strength training. This holistic approach improves flexibility, strength, and overall body alignment effectively.
Pairing with Mat Pilates
Pairing Reformer exercises with mat Pilates creates a well-rounded fitness routine. Mat Pilates focuses on core strength and body control, while the Reformer adds resistance for deeper muscle engagement. This combination enhances flexibility, posture, and overall physical alignment. Many free PDF guides offer routines that blend both methods, providing a balanced approach to fitness. By alternating between equipment-based and bodyweight exercises, you can improve strength, stability, and mobility effectively. This hybrid approach is ideal for those seeking variety and comprehensive full-body workouts from the convenience of home or a studio setting.
Incorporating Cardio or Strength Training
Incorporating cardio or strength training with Pilates Reformer exercises enhances overall fitness. The Reformer’s dynamic movements can elevate heart rates for cardio benefits, while its resistance system strengthens muscles. Free PDF guides often include routines that combine these elements, offering a holistic workout. For cardio, try faster-paced exercises like leg circles or arm pulls. For strength, focus on controlled, high-resistance movements. This blend boosts endurance, muscle tone, and cardiovascular health, creating a balanced and efficient fitness regimen that caters to diverse goals and preferences.
The Pilates Reformer Community
The Pilates Reformer community is vibrant and supportive, with enthusiasts sharing knowledge and inspiration online. Join forums, social media groups, and local workshops to connect and learn.
Online Forums and Groups
Active online forums and social media groups dedicated to Pilates Reformer exercises provide valuable resources and support. Members share tips, routines, and modifications, fostering a sense of community. Many groups offer free downloadable PDF guides, making it easy to access workout plans tailored to various fitness levels. Engaging with these platforms can enhance your practice, offering motivation and expert advice to help you progress effectively in your Pilates journey.
Workshops and Classes
Workshops and classes are excellent ways to learn Pilates Reformer exercises, offering structured guidance and hands-on experience. Many studios provide free downloadable PDF guides, helping participants practice at home. These sessions often include demonstrations, corrections, and modifications, ensuring proper form and safety. Workshops also introduce advanced techniques, while classes cater to all fitness levels. They are a great way to gain confidence, stay motivated, and connect with like-minded individuals, enhancing your overall Pilates journey and helping you maximize the benefits of your workouts.
Pilates Reformer exercises offer a transformative way to enhance strength, flexibility, and overall well-being; With free downloadable PDF guides, you can easily access routines and start your journey today.
Final Thoughts on Pilates Reformer Exercises
Pilates Reformer exercises are a powerful tool for improving physical fitness and mental focus. With a variety of routines available through free PDF downloads, users can tailor workouts to their fitness levels. Whether aiming to build strength, enhance flexibility, or improve posture, these exercises provide a holistic approach to wellness. The convenience of digital guides makes it easy to practice at home, ensuring consistent progress and a balanced lifestyle. Embrace the benefits of Pilates Reformer and transform your body with dedication and mindful practice.
Encouragement to Start Your Journey
Starting your Pilates Reformer journey is an exciting step toward improved health and wellness. With free PDF guides readily available, you can easily access structured routines tailored to your fitness level. Begin with foundational exercises, gradually progressing as you build strength and confidence. Remember, consistency is key to experiencing the transformative benefits of Pilates. Embrace the journey, stay committed, and celebrate the positive changes in your body and mind. Download your guide, take the first step, and unlock a path to a stronger, more balanced you.